Hello Sweet Jelly Bean readers!
This is my first ever How To… post, so please bear with me. I will do my utmost best to make this less painful for you to read and follow through. I took some screenshots (and there’s a lot…hmmm) and I’m hoping that they would make my step-by-step ramblings digestible. It might seem like a batter looking at this post already, but believe me, once you get passed your first ever DIY header, you’ll be using Pixlr Express like a ‘pro’.
The girls from WFBC seemed to like the FB banner I made for our group recently, and some have said that perhaps I should do a DIY post about it. So after thinking through whether I should or not, well, here I am. 🙂
The site I’ve been using for my blog headers is none other than Pixlr Express. Pixlr offers photo editing services but I’ve only really used Pixlr Express at this point, because if I start exploring the rest of the features they offer, my brain might start to bleed! There’s just so much editing, html and layers, etc. that my brain can cope with right now. So this site, is as easy as it’s going to get for me. (and I’m hoping for you, too.)
I’ve always wanted to customize my blog header but I could never get it right before. It’s either the image gets so stretched that it would look odd or too small and felt like it didnt belong there. Yes, there are other sites probably out there that could do the trick and give you that blog-worthy headers compare to mine now, but like I said, my brain can only cope with …. yep, you get my point.
So here’s what you need before you start fiddling with Pixlr Express.
- Exact header image size: example for my theme – Fresh & Clean Theme, it’s 920 x 116 pixels
- Any images, clip-arts, or anything you want to put into this header – I like to be prepared all the time. 🙂
- Patience!
Note: Please click the screenshots for better viewing.
Let’s start!

(Since our purpose is for you to be able to customize your header, I won’t cover much about the other buttons showing here)
So click Collage – that’s where you want to go.

A white square should appear and ensure that Spacing, Roundness, Proportions are set to 0 then click Finished.

Next, you need to click Adjustment since you want to Resize this ‘blank canvas to your appropriate header size.
Note: You have the option above to click the page into a Fullscreen (above right) if you prefer to work this way. I normally just set the screen as 100%, which can be found below the Fullscreen button.

You will be able to customize the Width and Height by clicking Keep Proportions bar, then you can enter the exact header measurements.

You would notice that the background color seems off white right? To fix this and make this brighter go to Adjustment then Autofix – this would do the trick.
Important – once you’ve done your work and you accidentally click Close, you’ll lose all your hardwork! So Beware! Save if you must.
Note: Click Undo to either delete an already saved action, and if you’ve changed your mind, just Redo! Easy-peasy.

With my blog header, I started by picking the right font for Sweetjellybean. There’s 7 fonts themes to choose from! I normally go for Retro, Handwritten and sometimes Novelty, but you’re more than welcome to explore the rest.

The font style I picked is Flavors! Fits with sweetjellybean, don’t you think?
As for the font color, well, you can pick whichever you like or love, and you can also adjust its transparency, just slide the bar next to the Color picker.

If you want to add your own images, icons or cliparts, you can do so – go Adjustment – Add Image, otherwise, checkout Pixlr pre-downloaded clip-arts via Sticker.

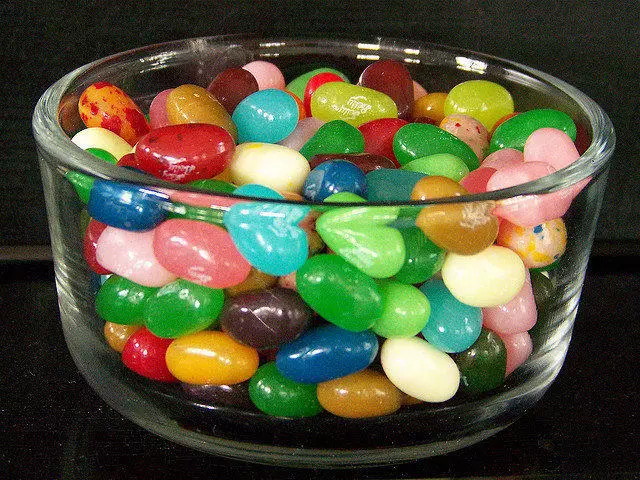
Jelly beans! From Google images! You can position your image/s however you want it to look in your header. Just click the dot on the left or bottom to adjust the size, while the top one, will let you rotate the image. To reposition the image, point your cursor in the middle of the image and drag.

I thought I’d include here the option of being able to erase and ‘brush’ back what you’ve erased! Didn’t know this until few days ago, by accident! And what so cool with this is that it does not affect the header text that you’ve already created. It’s only the image that you want to edit. Simply, click Erase (the brush size can be adjusted to suit your needs) and if you’ve deleted too much, simply Brush it back. Just like that. Click Apply – to save that work.
If you want to use the many features available, here are the screenshots and samples I’ve taken.
The following screenshots are just to show you the many options you could do on how create your blog header or banner. My header is quite simple and does not have any background or anything. But if you want to create a header with different background, here are the features you might want to check.

Overlay – which has lots of different type of backgrounds – some requires you to have a ‘darker background’ for it to work or be visible.
Some of the works that I’ve done although not great, but I thought I’d show you the features I’ve used for each of them.

Used: Overlay – Bokeh – Dreamscapes
And if you want Borders, to give your header that artistic feel or just make it look pretty, there’s a lot to choose from!
Here’s one example for WFBC group banner.

Used: Borders – Pattern – Starflower
or check out this post for the latest WFBC banner and button I’ve made.
And for achieving different layout styles, you can use Effect – which I’ve experimented using some of Dee’s at Haute Fraugalista’s images. (I got her permission to do this.)

Used: Effect – Creative – Artfunkle
And last but not the least….

Please do not forget to SAVE your work. Set the Quality to 100% to give you a better outcome.
IMPORTANT: You are able to undo your last action by clicking Undo. However, if you want to delete any actions before the last one – any of the ‘before’ actions will be lost. For example, you want to change your Font style – but this is what you did – Font – Clip-art- Pattern (Pattern being the last action). Pattern and Clip-art will be discarded at this point.
Best thing to do is Save this banner and label ex. sweetjellybeanbanner1, so at least you have that layout or design saved. Do NOT click or close the application once you’ve saved ex. sweetjellybeanbanner1, since you won’t be able to UNDO any actions then.

Like I said, this free site is so far the easiest for me to use, however if you know of a different site worth checking, please feel free to share. The Collage feature for Pixlr Express was recently added on 22nd June when the new version of Express was uploaded. Obviously the main purpose for this is for you to make a lovely collage but somehow I seemed to have found another way to use it! Well, it works for me.
And if you do try to make one, I would love to know. Any questions, I’m more than happy to answer or help.
Keep Smiling ^_^
AJ’s Mom