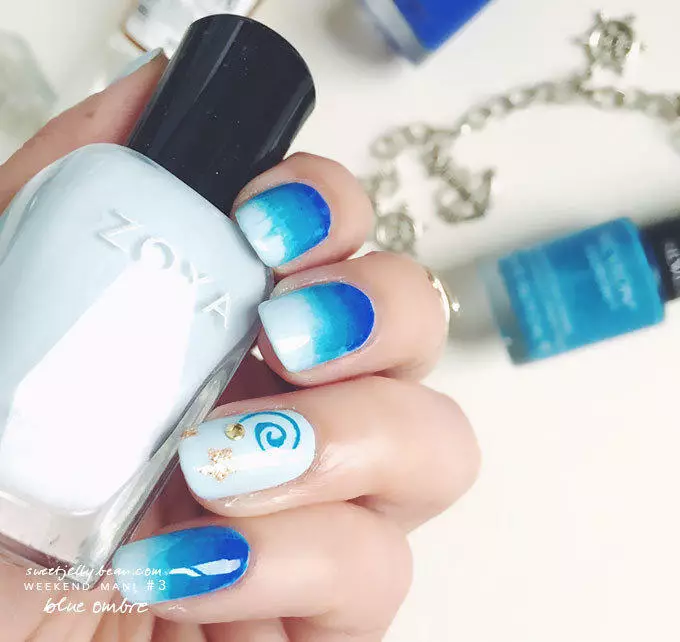
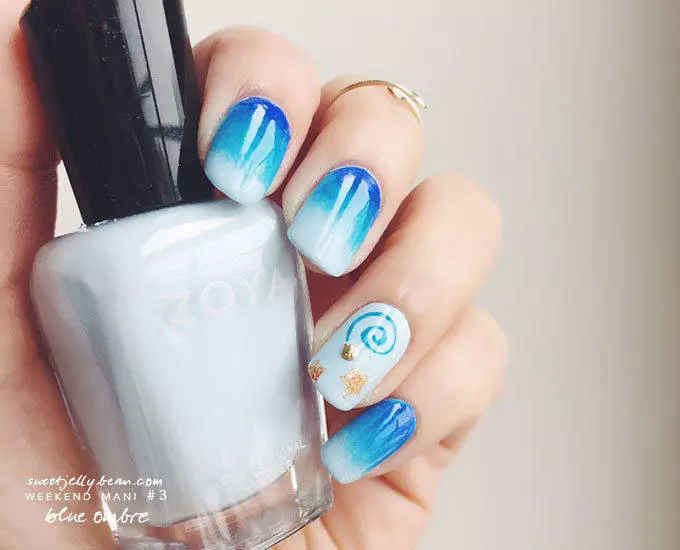
Spring is here, which means better weather is upon us! Hence, I decided to sport an ombre nail art to kick the good vibes up a notch.
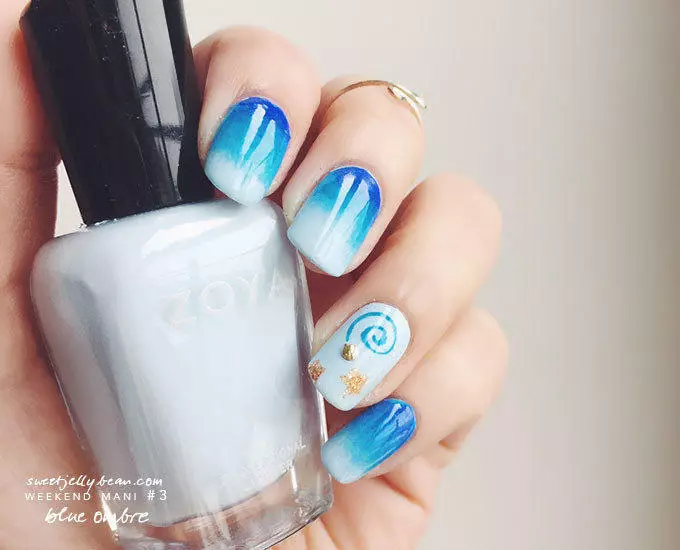
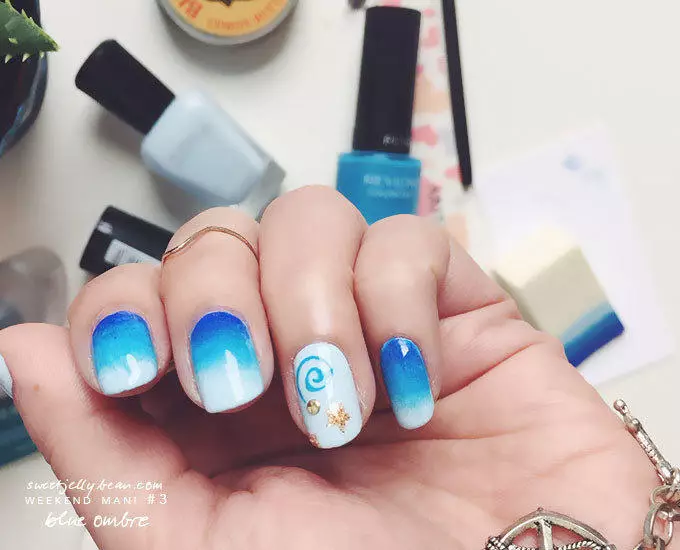
There’s just something about ombre nails that I can’t help but love. Oh and it’s surprisingly easy to do. The only part that I’m really not too keen is the cleaning up. It gets very messy (as you’ll see in the steps below).
With that being said, a cotton bud, a clean up brush or a *liquid palisade will take care of that mess for you. Although I’m not sure if I’m prepared to pay $22 just for a liquid palisade.
*A liquid, paint-on barrier that covers and protects fingernail cuticles from polish mishaps. (You peel off after you polish!)
For this ombre nail art, I went with three shades of blue: Blue Bombshell (Maybelline), Coastal Surf (Revlon), and Yowza (Zoya).
Other items used: sponge, cotton bud, acetone remover
Have fun!
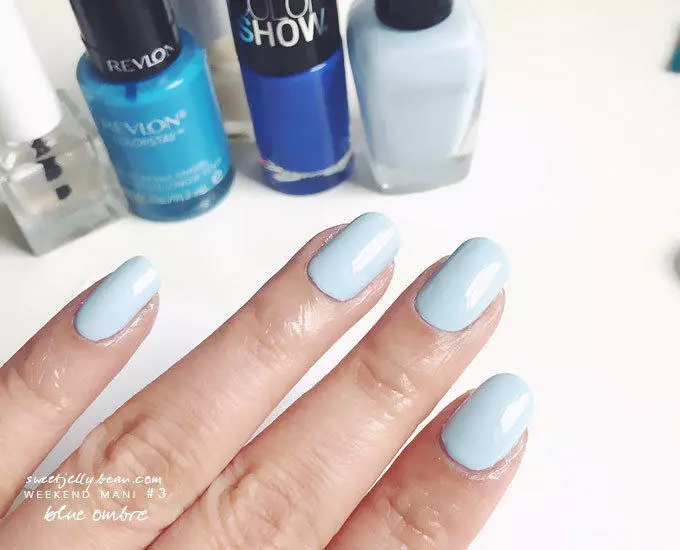
Step 1
Base coat → Base Color (Yowza by Zoya) → Top Coat
Let it dry first before the next step.
Step 2
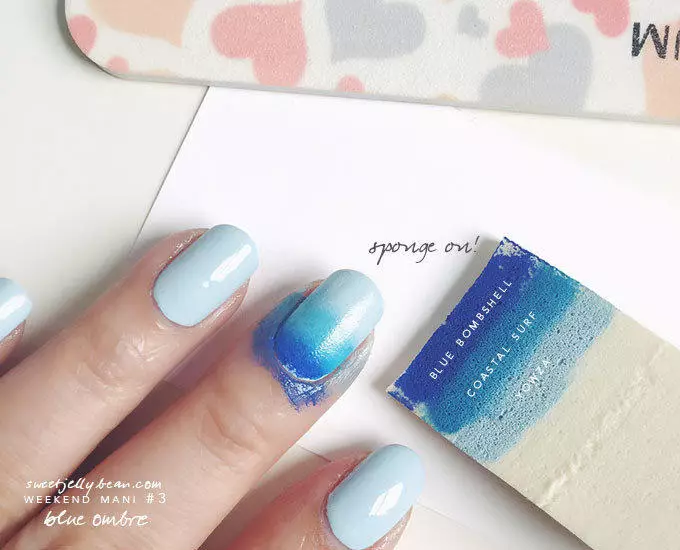
Get a sponge* and paint your chosen shades on it (or you can simply go for blue ombre nails as well) and quickly dab on your nail. Make sure to include your base color in the mix for the ombre effect to be more effective.
*I’m using a makeup sponge here.
For a darker gradient, you might have to do this step twice or thrice. It’s entirely up to you. Get creative with your accent nail also or just ombre it up!
Step 3
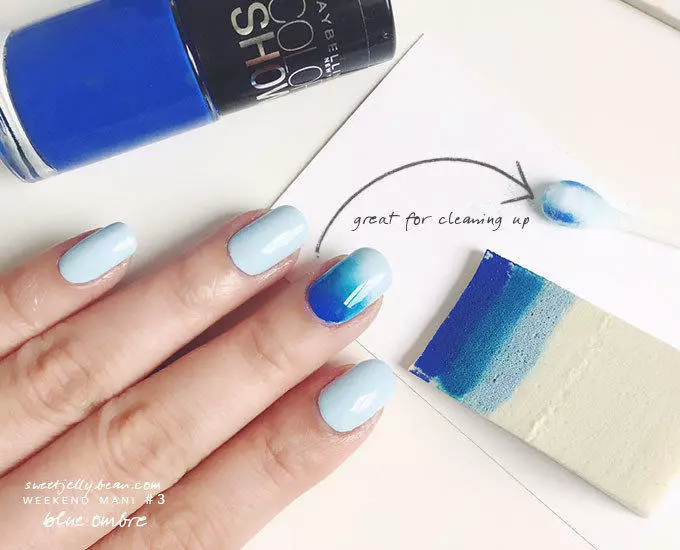
This is the messy part. Clean up around your nails/cuticles before the nail polish dries up. And then apply your top coat to seal your nail design.
And voila!
