In my pre-blogging days, I wouldn’t have a clue if someone mentioned about grabbing my button. Thank goodness for blogging for educating me a little, and now I’ve learned that blog button is one way of branding your site or blog and use it to spread the word about it. In this tutorial, I will share with you easy steps on making your very own blog button.
So what’s the big button idea?
Blog buttons are not just mere advertising tool for your blog — it also nurtures:
- the ‘give and take relationship’. (between the swappers)
- the I-want-to-get-to-know-you-more, because we’re swap buddies.
- the nice feeling when ‘oh yeah, now I can see my button on yours (blog), thank you!
Things you might want to know and remember:
- Size matters. So make sure to keep your button as sidebar-friendly as much as possible.
- The rule of thumb is 125×125 pixels – standard size. Although I go for 150×150 pixels or 200×200 pixels tops to give myself a little more space.
- Upon inspection, most sidebars are between 200-280 pixels wide, if not smaller.
Please consider these things when making one so your button doesn’t look out of place and it’s coming up nicely.
So as far as button-making goes, in my opinion, it should carry the essence of your blog. And should give out that feeling to others of ‘I want to click this button because I wanna know who’s behind it’.
Make the colors, font styles, backgrounds or images work together.
If you’ve not used Pixlr Express yet from that little tutorial I did few weeks ago, then let me help break you in to this wonderful editing site. It’s FREE and easy to use. The more you use it, the EASIER it gets. Others have tried it already. You’d be surprised.
So this would only be a short tutorial with a few screenshots. For more details on how to use this site, please take a moment to read the previous tutorial, otherwise let’s enjoy the button-making ride.
P.S. Prepare the images or clip-arts you might want to include, plus lots of patience and determination – it’ll come handy. ;-D
♥ Blog Button Tutorial + Useful Codes ♥
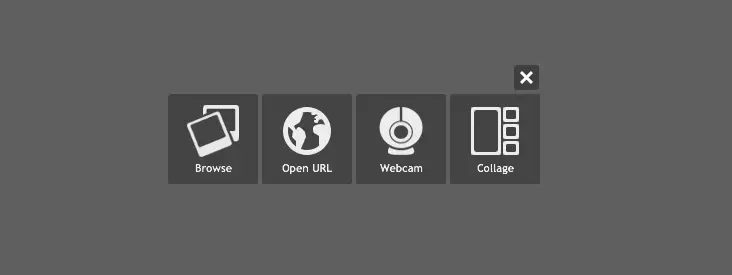
NOTE: You have a few options of how to import your image or clip-art to Pixlr Express. If the image is already saved, you can click Browse. Or if you’ve seen an image on a website, you can just copy and paste the image url on the URL tab, without saving it first, whichever suits you best.
If you go via Collage and import your image later – this is fine, too. The screenshots below would show you the resizing of the blank canvas. To Resize and/or Auto Fix (which helps brighten up the canvas), just go to Adjustment and you’ll see these features.
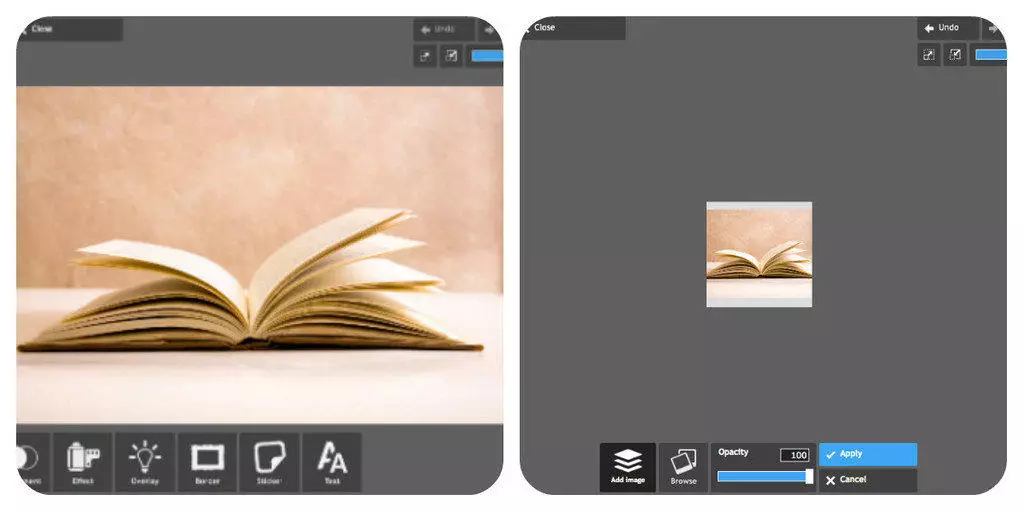 Adding and positioning your image. (I’ve just put the two screenshots together)
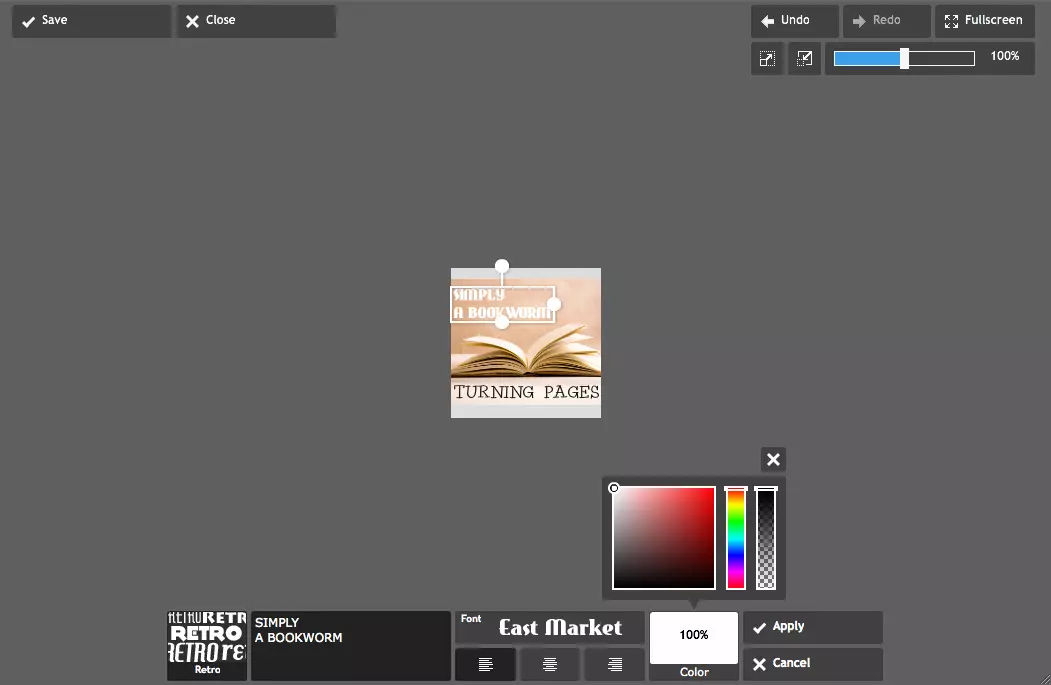
Bringing it to life, with Font styles and Color.
And once you’re happy with it – click Apply to save any actions you’ve made, and then Save. And you’re DONE!
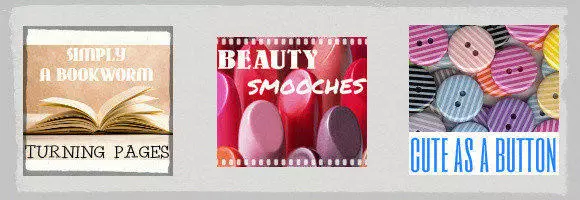
Just some of the sample buttons I made for this tutorial.
All images used taken from Google Images.
Useful codes:
And for those that I’ve seen having issues withe html code – here’s a simple code you might want to use when posting a Let’s Swap Button post. (noticed that quotation marks are straight ” and not the curvy type – this is very important for it to work properly)
CODE:
![]()
When another blogger will copy and paste this on to the Text or HTML widget – the button will show up centered.
If you would rather NOT have the button centered on your sidebar, just omit the following from the above code.
<div align=”center”>
</div>
It’s that simple.
And for those wanting a GRAB BOX CODE for their sidebar — simply check this cool site out and the super easy steps to do it!
Be creative and make few samples before settling for one. There’s no deadline for making one. Make that button ‘your own’. After all, the more the button ‘stands out’, the more it’s going to get passed and clicked around.
One press of your button could mean a new follower for you. Don’t forget to grab my button on my sidebar!
Related articles
- My DIY 101: Step-by-step to customize your blog header with Pixlr Express. (sweetjellybean.com)
- Get your DIY blog banners and wave…to this awesome bloggers! (sweetjellybean.com)
- Extra! Extra! Get your WFBC blog button here! (sweetjellybean.com)
- Calling all DIY bloggers… this post is for you. (sweetjellybean.com)
