If you happen to own an iPhone, chances are you spend a good time using it to take pictures. And why not? The best camera in the world is, and will always be, the one that you have on you. After all, it’s the photographer who captures the moment, not the camera. The iPhone is a capable shooter, and with the following tips, you will be able to take even better photos.
Need game-changing iPhone accessories? Check out our list here.
1. All About The Light
Knowing how to work with light is the secret to taking great photographs. Light has many forms, with the best being natural light. Sunlight is at its best during the period just after sunrise and right before sunset. This is also known as the golden hour, where sunlight is at its softest and reddest, giving you the chance to capture dramatic skies or a portrait with a skin tone that compliments your subject.
If shooting in the middle of the day with the sun is beaming at its strongest, look for a cool shade or work with shadows for the best shots. Another tip is to shoot with the sun against you to avoid lens flare.

2. Remember To Focus
While the iPhone does have autofocus, you will have more control over your images by tapping the screen to focus manually. My go-to technique is to press and hold the part of the image I want in focus (like a bracelet on a wrist or a dish on the table) until the iPhone reads AE/AF Lock. You can then adjust the exposure (or brightness) by slowly swiping up and down the screen to find the best lighting available.

3. Try Different Angles
It’s incredible how moving a few inches up or down can do to a photograph. One of the easiest tips to apply for selfies is to shoot with the iPhone slightly angled towards the bottom versus snapping a picture and even plane to your eyes. Taking a shot at a lower angle (like close to the ground) will give drama to your subject.
Want to get more creative? Try taking the picture high above your subject. Use a flight of stairs, the upper floor of a building, or climb a tree for some cool looking shots.
4. Compose Your Shot Seamlessly With A Tripod
Let’s say you want to capture some food dishes or products on a table top. Mounting your iPhone on a tripod will allow you to create the image you desire before shooting. You can move things around while you view how everything looks on your screen, giving you the chance to consider your overall composition.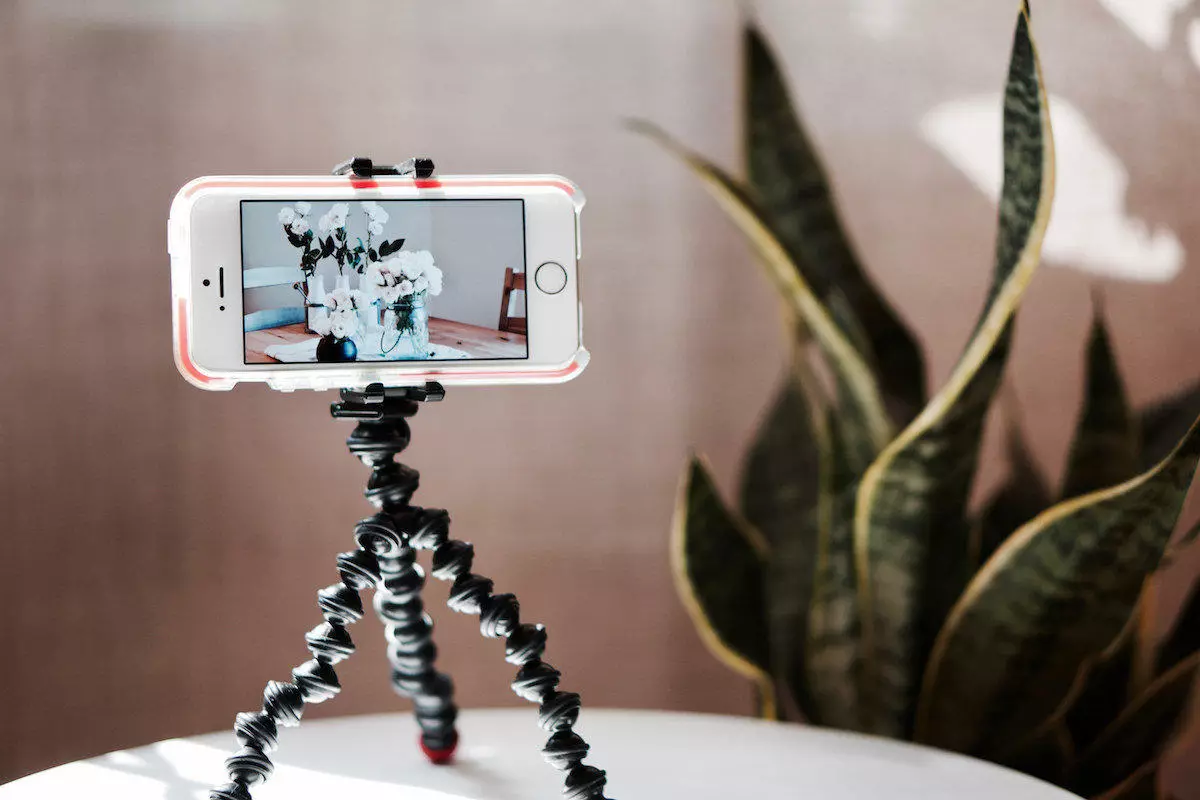
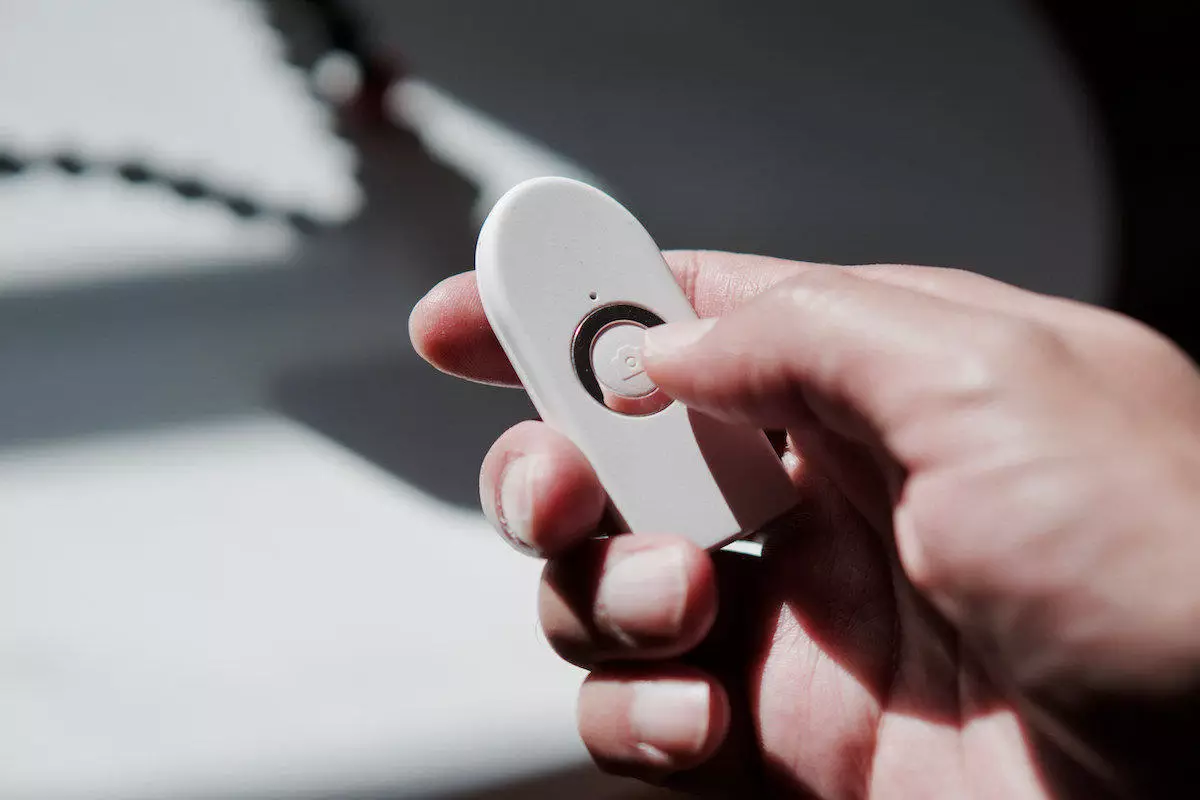
5. Have A Wireless Shutter Ready
If you want to take selfies at more than just an arm’s length, then a wireless shutter is the tool you need. Put your iPhone on your tripod or a flat surface against a wall, book, mug, etc., and move into the background of your choice. Now press the wireless shutter to take your pic. It’s that simple.
 Bonus tip: You can preset the focus on the exact spot you will be sitting or standing before capturing the shot. Say you plan on taking a picture of you sitting on the right side of a bench. Compose your image to fit the entire bench and manually lock the focus to the area you will be sitting. When you go to sit down and press the shutter to take the shot, you will now be in focus.
6. Trust The Grid
Have you ever heard of the Rule Of Thirds? You might have come across the grid feature on your camera settings and had no idea what it’s actually for. This is your wake up call to a key technique in photography.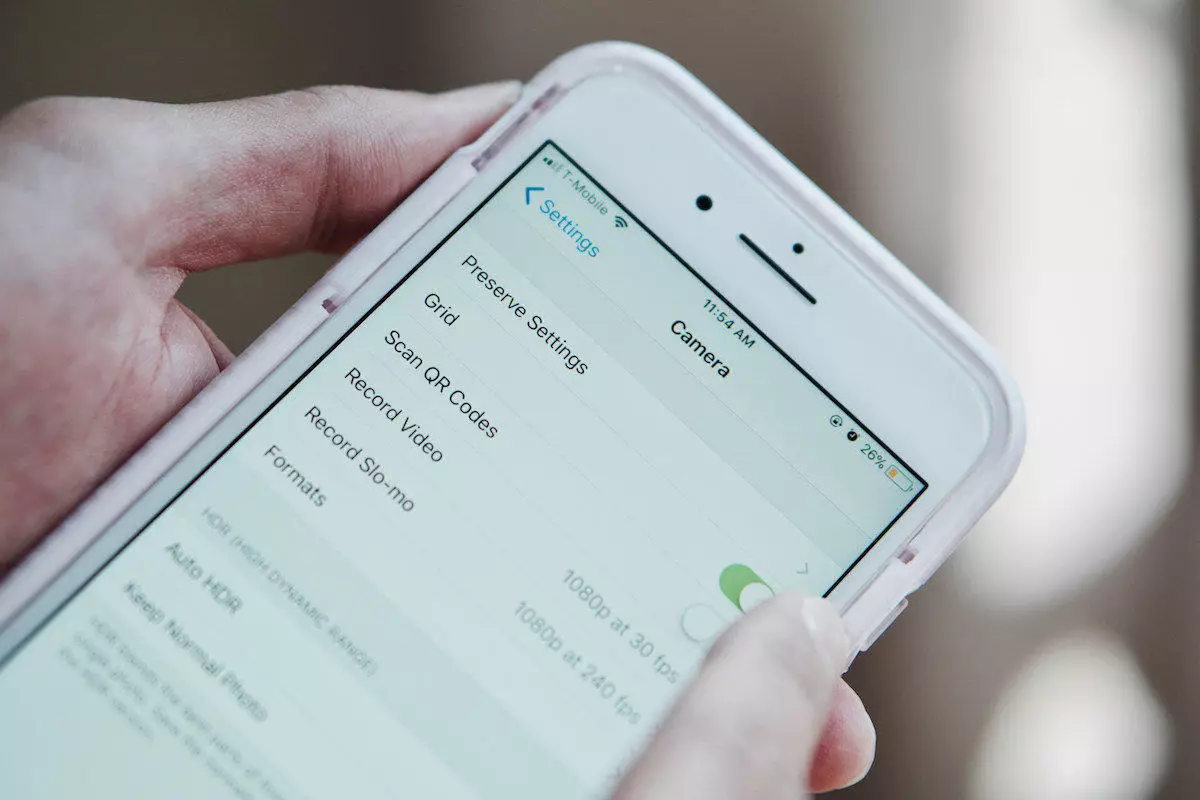 Go to Settings and turn on this feature. You will now see four lines across your screen when you launch the camera app which intersects each other. The four points where the lines cross each other is a third of the screen.
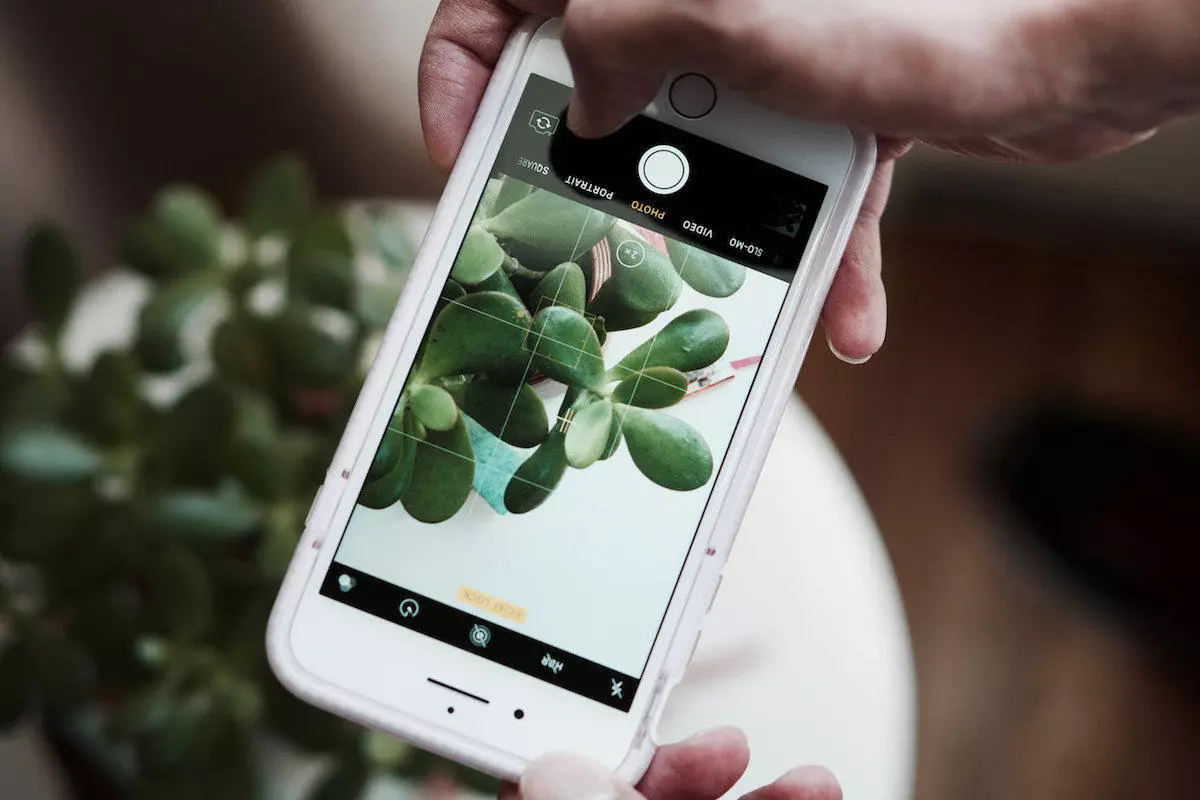 By placing your subject in one of these thirds, you will add more depth to your image and will allow telling a better story than shooting them right in the middle.
7. Use A Lens Attachment
The iPhone has a fixed lens, which is excellent at taking portraits and just wide enough for landscape photography. You can attach different cell phone camera lenses to shoot different types of photography. A macro lens is used for capturing images of small subjects (like insects or flowers) at very close distances. The olloclip has been a favorite of iPhone photographers for years, and they continue to release new versions for every new iPhone released.
8. Don’t Forget To Wipe Your Lens
Dust is a camera’s biggest enemy and can make a huge difference in taking a good or Insta-worthy photo. Since your iPhone lives most of its life in your pocket or bag, it is prone to get covered with dust or lint. Microfiber cloths or towels work best as they are designed to lift dust without scratching the lens. If you don’t have one available at the moment you are about to take a shot, wipe the lens with your shirt or blouse, but please don’t rub against your denim jeans.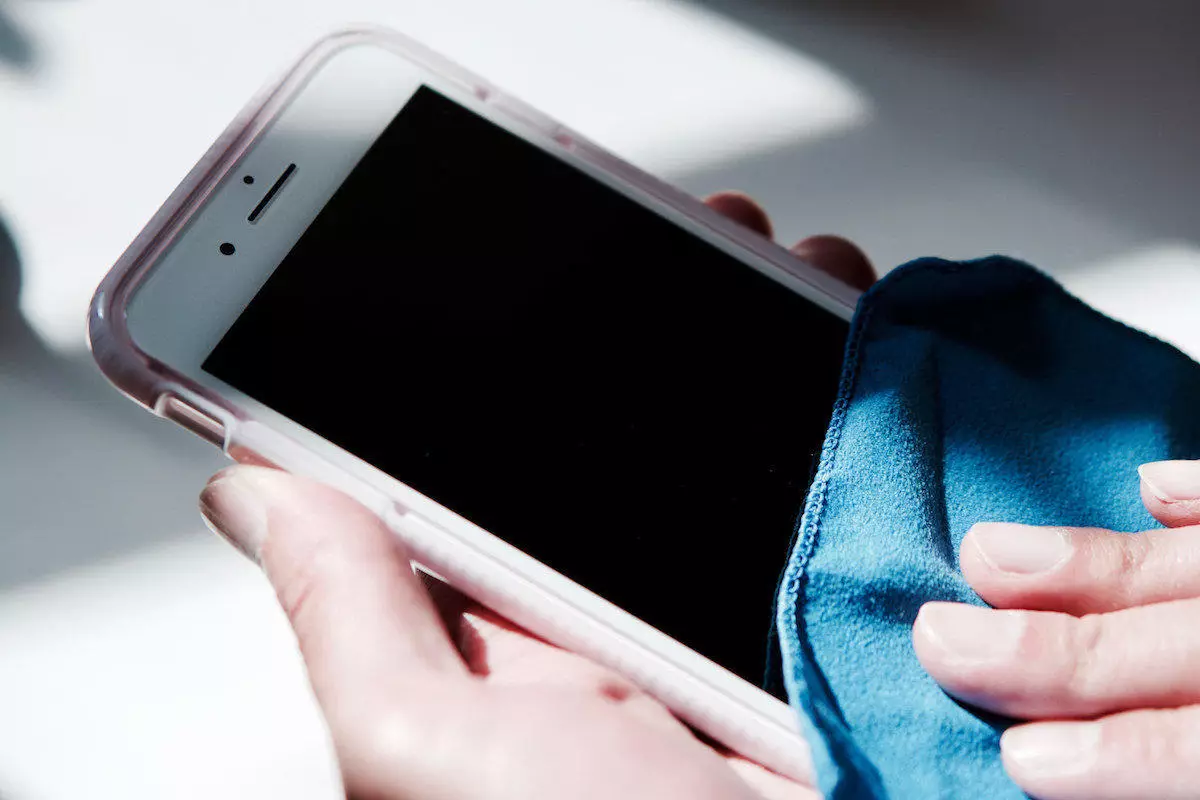
9. A Backdrop Makes A Difference
There are thousands of photography backdrops available that will assist you in creating all types of scenarios to shoot your subject. I love using a backdrop when shooting indoors, especially when the weather outside is wet and ugly. I can still go for the wooden floor look or change the background scenery by placing a backdrop on the wall. 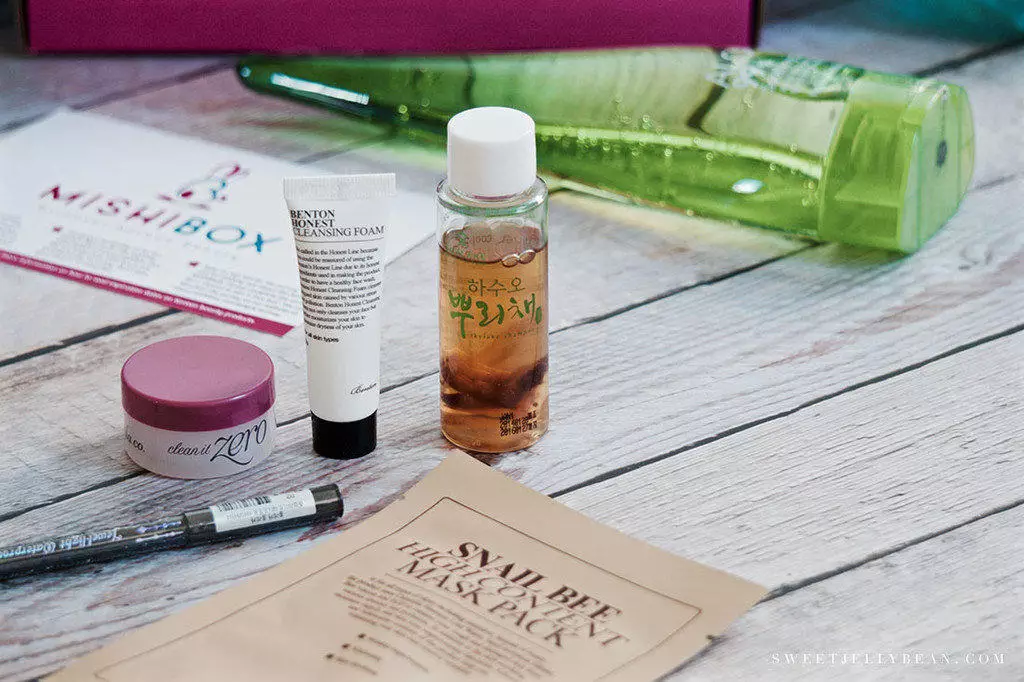
10. Put It In A Lightbox
If you love product photography, then a lightbox is your new BFF. By placing your subject inside a lightbox, you are eliminating all backgrounds and distractions. You can use a lightbox with natural light, softboxes, led lights, and much more.
Click here for all other iPhone photography-related accessories.
This post is written as part of our collaboration with eBay.
