

Who’s been contemplating on going self-hosted lately? All I can say is that, the experience is amazing so far. But I have to also admit that self-hosting can be a daunting process, especially when you don’t know what you’re doing or not know what’s going on. If you ever decide to do-it-yourself the whole transition, make sure you have this two, time and patience. They’ll come handy!
Check my previous post on 3 basic things to take into account before self-hosting.
So WHY did I do it?
I think that once we’ve created that little space we call ‘ours’ on the web, we automatically think of ‘what’s next?’, right? And this is exactly what happened to me.
These are just some of the things I wanted to do, of which might be on your list as well:
+ Take full control of my blog
+ Improve the overall appearance without forking out for the Custom Design upgrade
+ Offer a much better reading experience for my audience
+ Start working closely with brands, offer ad spaces (because yes, eventually they will help with the upkeep!), attract sponsored posts opportunities, etc.)
And HOW did I do it?
Putting aside the maintenance cost aspect of having a self-hosted blog, the possibilities are endless once you’ve moved.  Although, it’s just best to remind ourselves that things won’t happen overnight, and we all become millionaires. Haha (OK, perhaps it did for Michelle Phan? Love that gal.) It takes great content, better flow of traffic, engaging with your niche as well as promoting your blog. Yes, the power of marketing will make a difference, and don’t forget SEO.
Now that’s out of the way, here are the few steps (with a little bit of explanation) on how I did it, hoping this would enlighten some of you, who are about to embark on the same journey as I did. Grab a cuppa and some biscuits!
- I purchased my domain.
(Purchasing your domain via WordPress.com if you’re a WordPress user will just make your life easier when you decide to go self-hosted, and you probably end up saving a few dollars (or pounds!) – more details here. - Did my homework and signed up via Hostgator and picked a plan.
I picked ‘Baby Croc’ for two reasons: 1) it was affordable and 2) more additional features such as adding one more domain to host, free of charge. Because, you never know.
Don’t forget to back your blog up! Here’s how to: Go to your Dashboard, then Tools → Export and make sure to save the XML file where you can easily find it later on. (with Guided Transfer, they will do all of this for you, but still I backed up mine!)
 Bought Guided Transfer.
Guided transfer was like a godsend to me. Simply because I did not have the time nor the know-how. Ok, fine, I like a bit of challenge but I wasn’t prepared for it and felt that if something could save me all the hassle without breaking my bank, why don’t I go for it? The last thing I wanted was to mess things up or made the move take much longer.
Read here to see what’s inclusive in Guided Transfer.
What happens next?
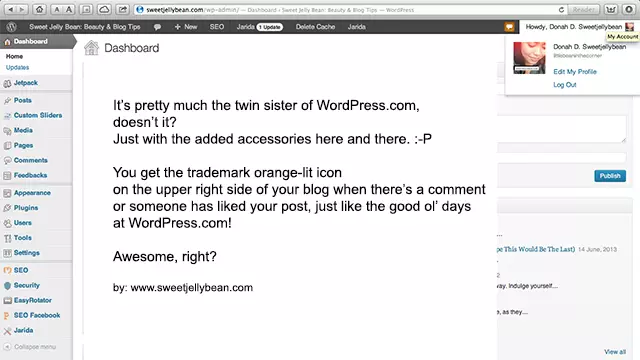
Well, congratulations! You’re blog is now self-hosted! Here’s a sneak peek on how the new platform would look like:
And the fun part?
Get those plugins! I’m sure you’ve heard of them already. They simply are amazing and makes a blogger’s life a little bit easier.
Snatch up your very own email domain.
This looks ok [email protected], but what about this [email protected]? Much better, right? It has that professional vibe to it and more personalized. Your very own blog domain and email are like peas and carrots, they just go together. 😛
Now that you’ve moved, you will have access to the following:
√ WordPress.org – this is where you will carry on to publish your post. Your new home. (your very own link would look like this: myblog.com/wp-admin )
√ WordPress.com – your wordpress.com account will be very much alive and you can choose to have your traffic redirected. See Site Redirect upgrade.
So to those who are unaware of your new home, they won’t be lost or face the Page Not Found prompt or ‘It Has Been Deleted’ site.
Tip: Less plugins will help avoid complications on your site. So be careful when choosing and adding one. Look for best rated or recently updated. And whenever an update notification pops up for a plugin you have, always do it!
Next…
EXPLORE AND ENJOY!
(but make sure to check in for another round, this time, let’s brave it and DIY it!)
Q: If you’re a self-hosted blog, what was your experience like? Any tips or advice? Do share!